Antivirus in Azure using ClamAV
2025 update: This is not the recommended way anymore - use MS defender for storage instead and simply check for when defender has finished scanning by listening to storage events or polling for blob tag.
See updated blog here: www.tuomistolari.net/blog/2025/6/26/antivirus-in-azure-using-azure-defender
The resources to achieve this in Azure are the following:
Resource group for below resources
Azure Container Instance to run Clam AV server
Azure Function App to run the scan and read the file from blob storage.
Azure Storage Account
Event grid (Built in)
Create Container instance
Create a container instance for ClamAV server with these settings using the public image:
mkodockx/docker-clamav:alpine

Make sure to take note of the IP address that the container gets hosted into. For example: 10.0.0.1
The default port is typically 3310, as documented here https://hub.docker.com/r/mkodockx/docker-clamav
(Thanks to @TimothyODonnell)
Create function app
Create a Function App, for this example we use dotnet runtime

Create storage account for files that you want to scan
Create a storage account with your preferred settings. Defaults will do for this example.

Deploy azure function
Use VSCode to first log into your azure subscription and then create a new azure function app from VSCode Azure Tools.
If you do not have Azure Functions extension installed in VSCode, make sure you install that first.

When you press Create New Project you will be prompted with a few questions, runtime, folder, etc. Pick what you like, but this example uses C# and EventGridTrigger template project.


Then you should have your project up and running:

Let’s proceed to deploy this app as is to get azure into a state we want for further configurations.

Use command palette or the deployment app to deploy your app into the Azure Function App we created earlier.

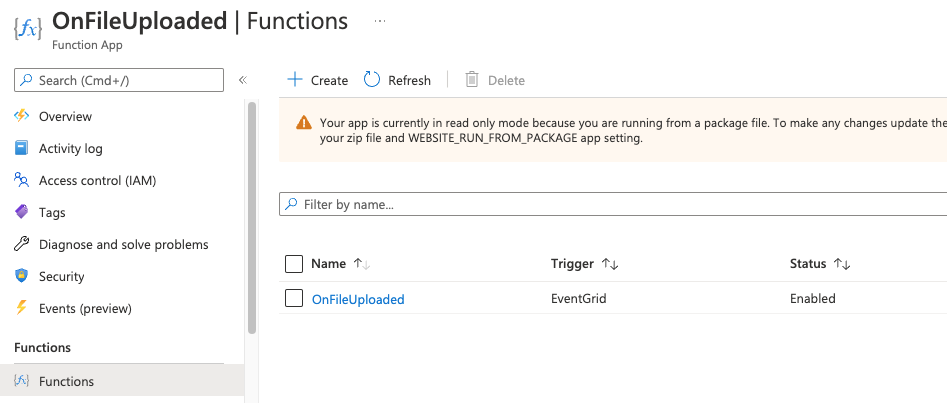
You should now see it listed in your Azure Portal
Configure azure event grid
Now let’s make sure our function triggers from files uploaded to the blob storage.
Head over to your Storage Account and click on the “Events” tab

Create an event Subscription for File Created as follows. We want to create events from Blob Created and trigger our Azure Function when it happens.

Function
Now, let’s flesh out the function
Start by installing or setting the following packages into the .csproj file of the function
<PackageReference Include="Azure.Messaging.EventGrid" Version="4.9.0" />
<PackageReference Include="Microsoft.Azure.EventGrid" Version="3.2.1" />
<PackageReference Include="Azure.Storage.Blobs" Version="12.11.0" />
<PackageReference Include="Microsoft.Azure.WebJobs.Extensions.EventGrid" Version="3.1.0" />
<PackageReference Include="Microsoft.NET.Sdk.Functions" Version="4.0.1" />
<PackageReference Include="nClam" Version="7.0.0" />
Here is the full code of what will follow
Let’s get started by downloading the file into local memory
Next, send the file to the containerized clamAV server. Here’s where you will need the IP address and port (typically 3310) of your ClamAV container instance.
And that is it. Deploy your code and now you can simply upload a file into the storage account you created from Azure Portal, and you should see this function get triggered and the file being sent to the ClamAV server for checking. The rest is up to you.
Good luck!